Racket Customisation
Racket customisation is an essential part of tailoring a racket it to suit a player’s specific needs, such as enhancing feel, increasing stability, or altering balance. Racket customising can involve various adjustments, and two of the most common methods focusing on increasing mass, redistributing weight, altering swingweight and handle customisation. Materials used include but not limited to lead tape, silicone, leather grip, heat wrap sleeve, sandpaper etc
Here’s a detailed guide on how to do this, including how these adjustments can affect the overall performance of the racket.
- Basic equipment: High precision digital kitchen scale, 2 pieces of thin wooden dowel/chopsticks, ruler/tape measurer.
- Nice to have equipment: Babolat RDC machine, swingweight machine, balance board, weight machine.
Racket customisation by adding weight with leather grip
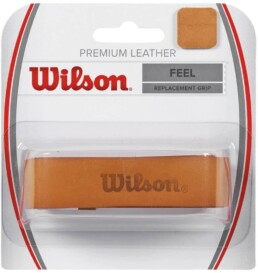
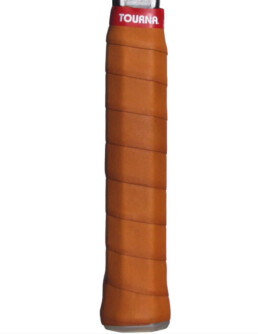
Perhaps the simplest of the options of racket customisation is simply to replace the existing synthetic grip with a leather one. Adding a leather grip can add upwards of 10 grams on average (depending on brand and how its wrapped) over a synthetic counterpart.
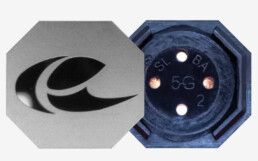
Racket customisation by adding weight with a weighted butt cap
Another easy option to racket customisation is to replace the stock one with a weighted butt cap. Currently only Head sells a 5g while Slinco sells a 5g and 10g but specifically for their rackets only.
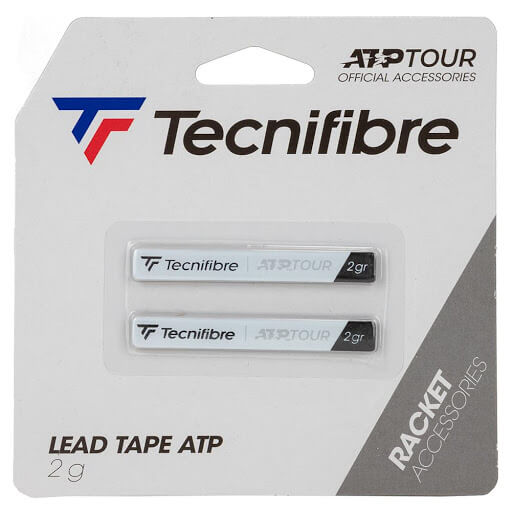
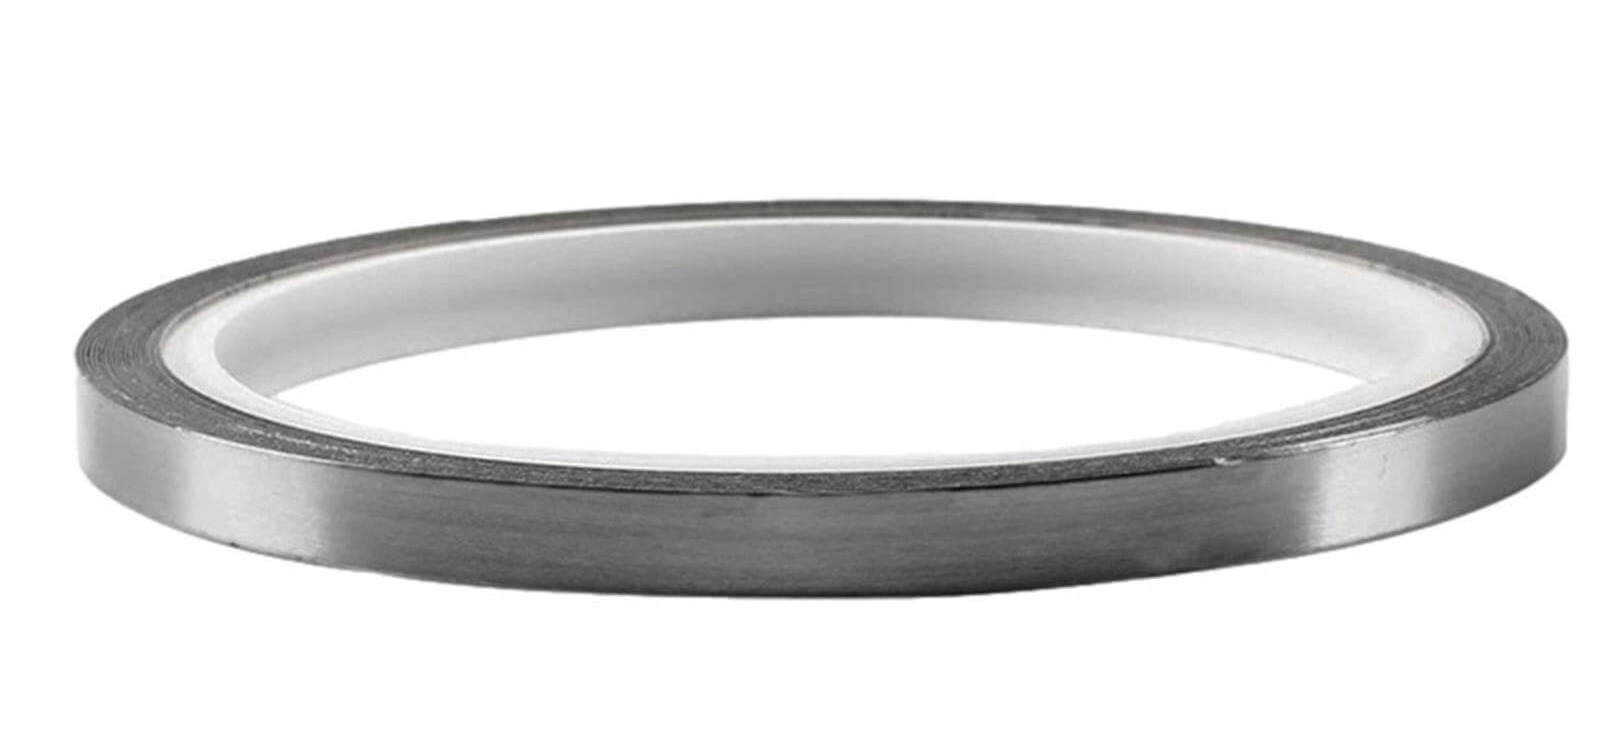
Racket customisation by adding weight with lead tape
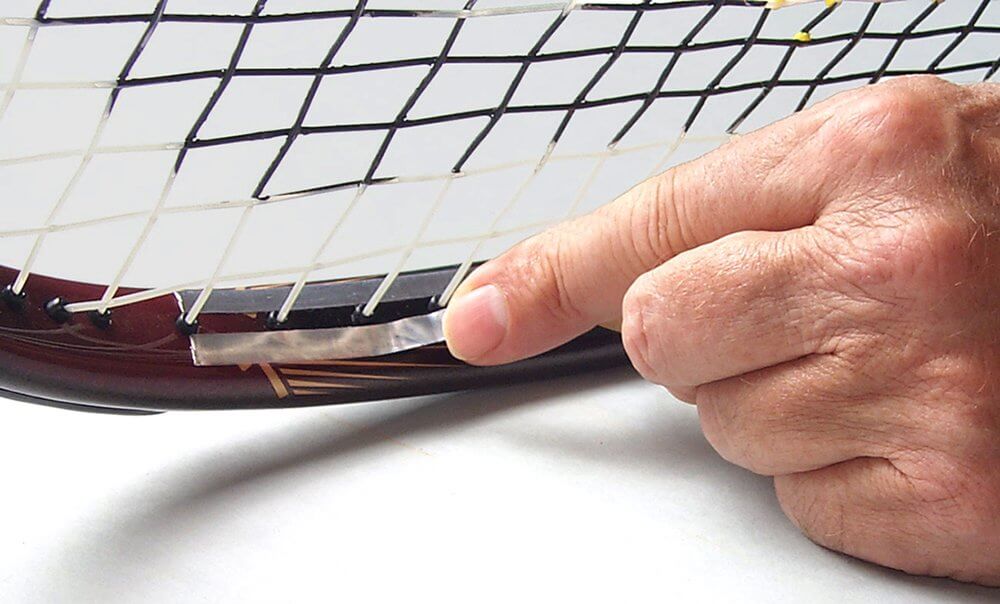
Moving onto more advanced level of racket customisation is using lead tape. It is commonly used to adjust a racket’s weight, balance, and swing weight. It’s available in different thicknesses (e.g., 1/4″ and 1/2″) and can be applied in different locations on the frame depending on the goal.
What Lead Tape Affects?
- Weight: Adds mass to the racket, making it more stable and powerful.
- Balance: Moving the weight closer to the head increases the head-heavy balance, while closer to the handle shifts it to head-light.
- Swingweight: Adding weight away from the handle (especially around the head) will increase swingweight, making the racket feel heavier when swinging.
How to Apply Lead Tape:
- Decide on the amount of weight: You can use a kitchen scale to measure the amount of lead tape to add. A typical starting point for beginners might be 2-4 grams of lead tape per location (around 4-8 grams total for a typical racket).
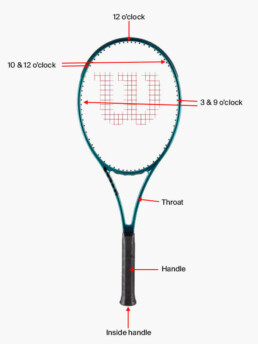
- Choose where to apply:
- Head – 3 o’clock and 9 o’clock (for power and stability): Apply lead tape to the 3 o’clock and 9 o’clock positions (the sides of the hoop) for more stability.
- Head – 12 o’clock position (top of the head) for added power but this changes the swingweight so limit how much to add at a time (start with 2 grams).
- Throat (for more mass and heft): Simply to add more mass and heft and plough through without altering too much of the swingweight.
- Handle/Butt Cap (for control and maneuverability): Place lead tape on the handle or inside the butt cap if you want a head-light racket (better maneuverability). It helps with swing speed and feel.
- Apply the tape: Cut the lead tape into small strips, typically 2-inch lengths, and apply them to the appropriate areas. You can also wrap it around the handle if you’re adding weight there.
- Test and adjust: After applying the tape, test the racket to feel the difference. If it’s not exactly how you want it, you can remove or add more tape. Lead tape is removable, so trial and error is common.
- Recheck balance: After applying lead tape, check your racket’s balance and weight. Adjust as necessary by adding or removing tape.
General Rule:
For every 1 gram of weight you add to the 12 o’clock position in the racket head will increase the swing weight by 3 points.
Adjusting swing weight
Effect of Swingweight:
Swing weight is a measure of how heavy the racket feels during the swing. To increase the swing weight, add lead tape farther from the handle (in the head area). A higher swing weight gives more power and stability but makes the racket feel slower through the air.
For example:
- Head-heavy configuration (adding weight to the 12 o’clock area) increases swing weight and provides more stability on groundstrokes.
- Adding weight near the handle (butt cap) reduces swing weight, making the racket feel more maneuverable and quicker for volleys or fast exchanges.
What You Need:
- A ruler or measuring tape (centimetres preferred)
- A digital scale (to weigh the racket in grams)
- A stopwatch (or a smartphone timer)
- A support stand or edge of a table to suspend the racket
Steps to Calculate Swing weight Manually:
Step 1: Measure Balance Point (BP)
- Place the racket on a ruler or a balance beam to find its balance point (where it stays level).
- Measure the distance from the handle butt cap to this balance point (in cm).
- Record this as BP (cm).
Step 2: Weigh the Racket (M)
- Place the unstrung or strung racket on a digital scale.
- Record the mass (M) in grams.
Step 3: Measure Swing Time (T)
- Suspend the racket handle over a table edge so it hangs freely on 2 pieces of dowel that is centered equally apart on the main strings.
- Make sure the racket can swing freely without hitting the table edge.
- Pull the racket head slightly back by the handle and release it gently so it swings like a pendulum.
- Use a stopwatch to time 10 full swings (back-and-forth motion).
- Divide this time by 10 to get T (time per swing in seconds).
- Repeat this three times and take the average for accuracy.
Adjusting for Customisation
- Adding lead tape at 12 o’clock increases swing weight the most (~3 points per gram).
- Adding weight at 3 & 9 o’clock stabilizes the racket while also raising swing weight.
- Adding weight inside the handle (silicone/lead) increases overall weight but less effect on swing weight.
Notes & Accuracy
- This method is not 100% precise but provides a close estimate.
If unsure, use an online swing weight calculator to simplify the process.
Using silicone instead of lead
Silicone is used to dampen vibrations and change the feel of the racket, especially in the handle. It can add weight to the handle and help adjust the balance of the racket as well.
What Silicone Affects:
- Weight: Adds mass to the handle, helping create a head-light balance.
- Vibration Dampening: Helps reduce harsh vibrations and can provide a more comfortable feel, especially for players with sensitive wrists or elbows.
- Feel: Silicone adds to the racket’s overall soft feel and reduces the “pingy” sensation some players dislike.
How to Add Silicone:
Gather Materials:
- Silicone tubing (or silicone gel) from the hardware store.
- A syringe or sealant/caulking gun.
- A flathead screwdriver or pick to open the butt cap.
Remove the Butt Cap:
- Pull off the butt cap at the bottom of the handle. If the racket has a closed handle, you may need to use a special tool to remove the cap or open the handle.
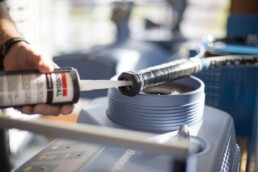
Inject Silicone:
- Create room for the silicone by scraping away some or compressing it to create room.
- To test the effect of the added weight, you can either use lead tape to apply a known amount first and determine if it achieves the desired result, or you can place the silicone inside some cling wrap before inserting it into the handle. This way, the silicone will not stick to the handle itself, but to the cling wrap, which can easily be removed afterward.
- If you’re using silicone gel, place the gel into the handle using a syringe or simply squeeze it in.
- If you’re using silicone tubing, cut the tubing to fit the length of the handle and stuff it in.
Reattach the Butt Cap:
- Once the silicone is inside, replace the butt cap. Be sure to make it snug and secure.
Racket customisation by handle adjustment
Alterations to a tennis racket’s handle size can be achieved in two primary ways: using heat shrink wrap or reshaping the pallet with sandpaper. Here’s how both methods work:
Using Heat Shrink Wrap (Heat Shrink Sleeves)
Heat shrink wrap is a popular method for slightly altering the size of a racket handle. This method allows you to increase the grip size without the need for permanently altering the pallet. The process works as follows:
- Application: A heat shrink sleeve (a pre-formed, stretchable plastic sleeve) is placed over the racket handle. It is then heated using a heat gun or hair dryer.
- Shrinkage: As the heat is applied, the sleeve shrinks tightly around the handle, slightly increasing the overall size of the grip.
- Customization: You can adjust the level of shrinkage by controlling the temperature and time spent applying heat, allowing you to make the grip slightly larger for comfort and control.
- Pros: This method is reversible, easy to apply, and doesn’t require permanent changes to the racket’s structure.
- Cons: It only adds a small amount of thickness to the handle and may not be suitable for large adjustments.
Heat shrinks comes in 1 full grip size (1/8) increase or half size.
Weight approx. 15g (per one grip size increase)
Shaping the Pallet with sandpaper or file
For more drastic customisation, reshaping the pallet is a more hands-on approach. This involves using sandpaper to adjust the shape and size of the handle, which allows you to fine-tune the handle to your exact preferences like Federer.
- Sanding the Pallet: The pallet (the part of the handle that’s shaped before grips are added) can be sanded down to either make the grip smaller or to reshape certain areas to suit your hand better. Typically, players will sand the sides or the throat area of the handle to make it feel more comfortable or ergonomic or create a more pronounced, flatter rectangle shape.
- Process: Sandpaper is carefully used to shave down areas of the pallet to reduce the size of the grip. Players typically use finer grit sandpaper for the final smoothing to avoid rough edges that could affect comfort or grip performance.
- Pros: Offers precise control over the handle size and shape, which is particularly useful for players with unique hand sizes or those who prefer a very specific grip contour.
- Cons: This method is permanent, and once the handle has been altered, it cannot be returned to its original size. It also requires a bit more skill and patience.
Currently only Head sells commercial pallets (TK82, TK82S). TK82 pallets fit most HEAD tennis racquets (as well as some other brands). TK82S pallets are designed for HEAD Speed, Instinct and Graphene 360 Radical series. 3D printing pallets is also available, and you can mix and match different handle types and cross install brands which could not be don’t previously and without the need to pay for expensive custom molding e.g. putting a Wilson Pro Staff pallet onto a Babolat Aero, or allowing you to have a L4 on the top half and an L3 on the bottom half.

Should You Do It?
While most players may not need to know how to customise a racket ever, some frames just do not play well off the shelf in stock form. If a player know what he/she likes from their frames and are looking for something very specific in terms of specs then customising is the only way to go.
The advice is to always start small and add and tinker until you reach your desired specs. Always use non-permanent materials first (e.g. blu tack) before using more permanent materials such as silicone. Remember the racket is only half the equation and your string setup plays the other important part, more on that in another article.